
A coated floor that stops dead at the wall is fine in plenty of garages. In a shop that hoses down, a wash bay, or any room where water and grime collect in the corner, the coating usually needs to climb. Stockton crews start calling about cove base once they bid commercial rooms. This post covers the part of the floor that is not the floor: the cove, the stem wall under it, where the coating stops, and the edge prep that keeps it there.
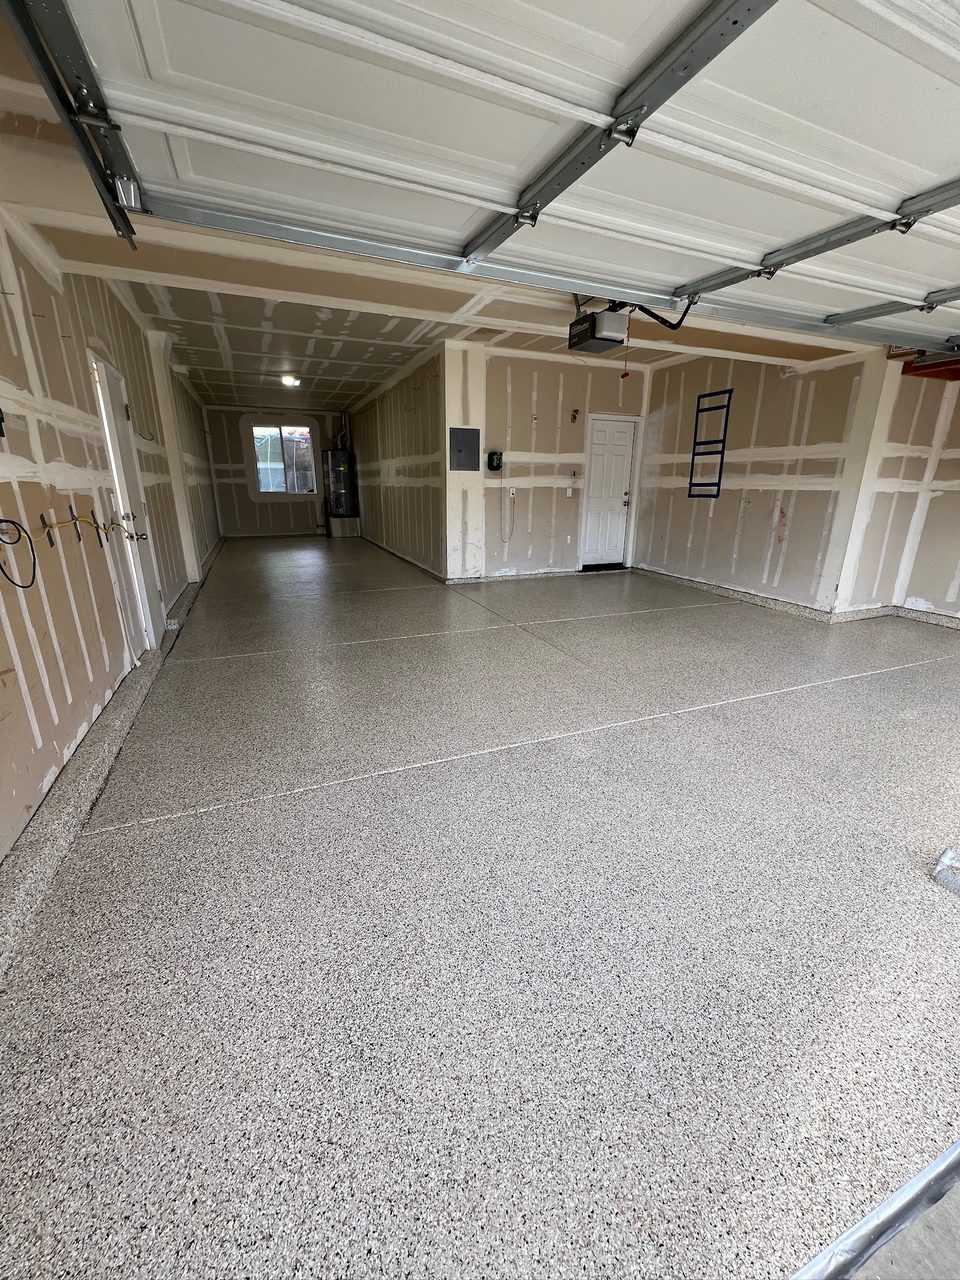
Why some rooms need the coating carried up the wall
A square corner where slab meets wall is a dirt trap. Water sits there, grime packs in, and a mop or squeegee never reaches the back of a right angle joint. Over time that corner is where the coating edge lifts and where the owner starts complaining.
A cove base replaces the corner with a rounded transition, built from the floor up onto the wall and coated as one continuous surface with the floor. Water runs off it, a brush reaches it, and nothing gets under the edge.
Rooms that often call for it include wash areas, shops that clean with water, food and animal spaces, and anywhere an inspector or the owner expects a sealed, cleanable corner. A house garage usually does without, though some owners want the look.
Ask about it early. Cove work is slow, it adds material, and it changes the schedule. Learning after the floor is down that the owner expected coated walls means a return trip and a visible seam where the two jobs meet.
Reading the stem wall before you plan the cove
In a lot of shops the bottom of the wall is a concrete stem wall, poured separately from the slab, with framing or block above. That stem wall is a different substrate with a different history.
Look at the joint between slab and stem wall first. It is almost always a cold joint, and it can move. A rigid cove run straight across a joint that shifts will crack along the same line. Treat that joint with a flexible or approved joint product before any cove material goes in.
Then look at the wall face. Form oil, paint, old sealer, efflorescence from moisture coming through the wall and patches of hard trowel finish all interfere with bond. The stem wall needs the same honest prep as the slab: abrade to an open profile, clean it, and test anything suspicious.
Check what sits above the concrete too. If the cove height runs past the stem wall onto drywall, wood or metal, that transition needs its own plan. Coating across a seam between two materials that move differently is asking for a crack.
Building a cove radius that reads straight from the doorway
The cove itself is usually built from a trowel-grade epoxy mortar or a cove base product mixed stiff enough to hold shape on a vertical surface. It goes into the corner and gets formed with a cove trowel to a consistent radius.
Consistency is the whole visual. A cove that wanders fat and thin around a room looks bad from the doorway even when it bonds perfectly. Snap a line on the wall for the top edge, keep your trowel angle the same, and work in lengths you can finish before the material stiffens halfway around a corner.
Inside and outside corners take practice. Build the inside corners first, then run the straight lengths into them. Outside corners around a column or door jamb want a little extra material and a steady hand.
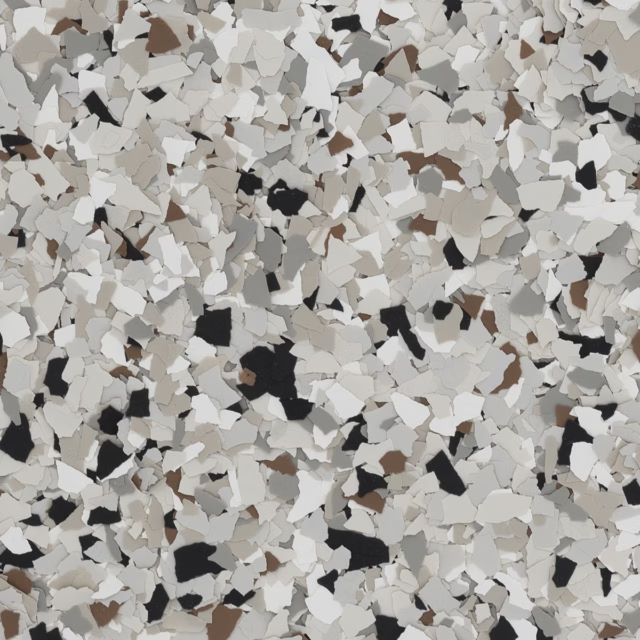
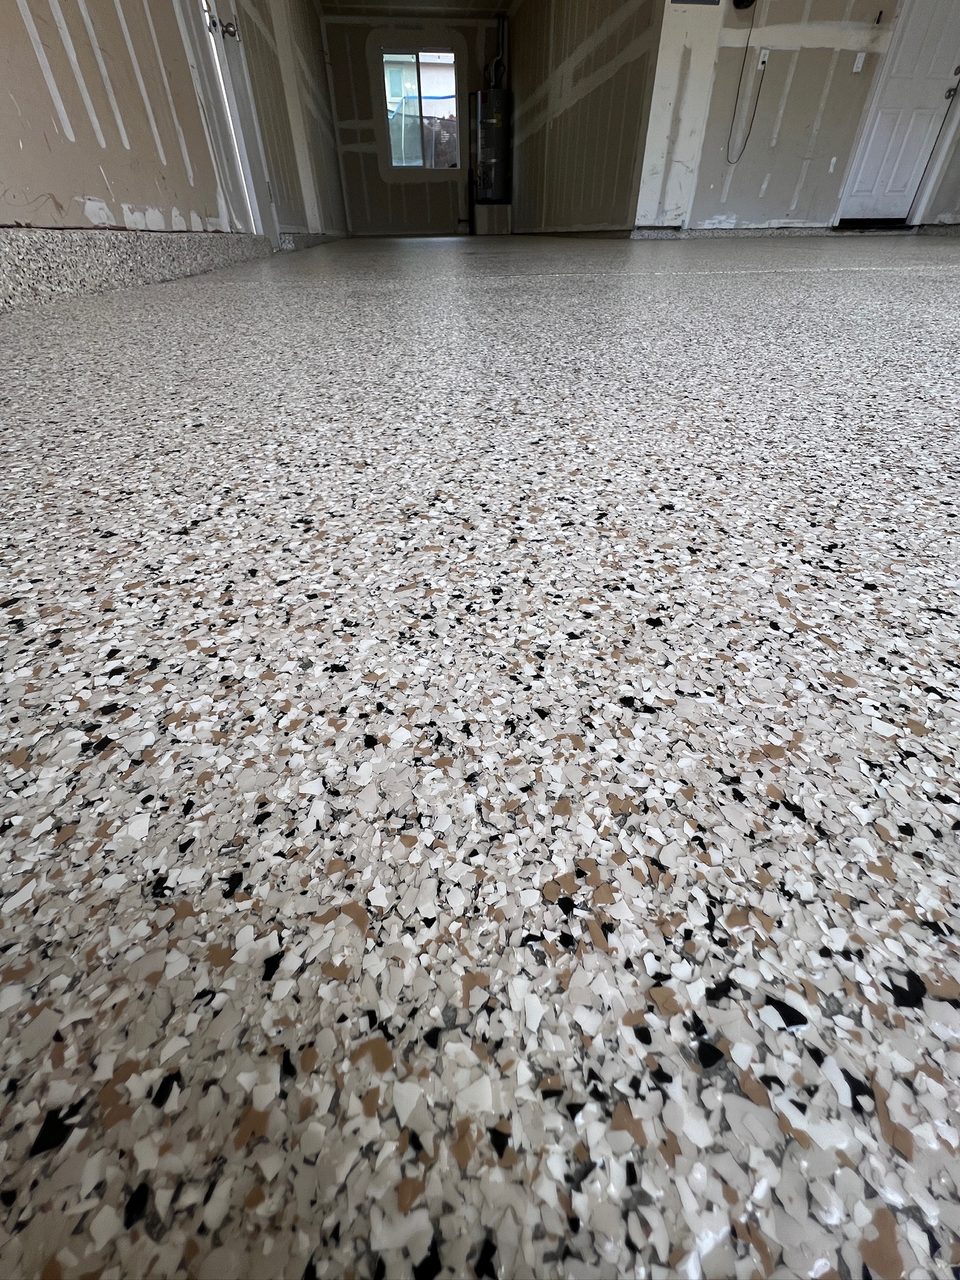
Once the cove cures it gets sanded smooth where needed, then primed and coated with the rest of the system. Flake can continue up the cove, though broadcasting onto a vertical face takes a different technique than the floor. The decorative flake systems we ship to Stockton cover the floor side of that stack.
Where the coating stops on the wall
The top edge of a cove is where failures tend to start, because it is the thinnest, most exposed line in the whole system.
Many installers cut or grind a small keyway into the wall at finish height, so the coating ends inside a notch instead of feathering out to nothing. A locked edge resists peeling and gives the tape line something real to follow. Where the wall will not take a groove, a clean tape line on a properly prepped surface is the minimum.
Pull the tape at the right moment. Too soon and the edge slumps. Too late and the tape tears the film and leaves a ragged line. The data sheet and the room temperature decide which is which.
Where the cove meets another material, such as a door frame, a drain or a column base, plan the transition before you start. A flexible sealant at those joints often outlasts coating straight through them. And show the owner where the coated area ends, so nobody expects a sealed surface where there is only paint.
Edge prep the big grinder cannot reach
A walk-behind grinder leaves a strip along every wall it cannot get into. On a floor that stops at the wall, crews sometimes live with a lighter prep there. On a coved floor, that strip is the foundation of the whole cove, so it gets full attention.
Old wall base, adhesive, caulk and any paint on the stem wall come off first. Then a hand grinder with a cup wheel, or an edge grinder, takes the perimeter and the lower wall to the same profile as the field of the slab.
Run dust extraction on every edge tool. A hand grinder in a corner throws fine dust right at the operator’s face, and silica from concrete is a real hazard. Shrouds and an extractor belong in the setup for every edge, every time.
If the crew does not own the edge tooling or the extraction, grinder rental for Stockton work is the place to start. Vacuum the perimeter twice before cove mortar goes in. Dust left in that corner ends up in your bond.
Wall and edge questions for cove work
How high should a cove base run up the wall?
Four and six inches are common, but the answer depends on the room. A wash area or food space may have a height set by whoever inspects it, and some owners simply want the coating up to a certain line. Confirm the height with the owner in writing before you snap the line, since changing it later means redoing the cove.
Can flake go up the cove, or does it stop at the floor?
It can go up the cove, and many coved floors carry flake all the way to the termination line so the room reads as one surface. Broadcasting onto a vertical face takes practice, since chips do not land the way they do on a flat slab. Some crews run a solid color cove instead, which is simpler and still looks clean.
What should I add to the order for cove work?
Plan for cove mortar or a trowel-grade base, a cove trowel, extra primer for the wall, joint treatment for the slab-to-wall joint, tape, and flexible sealant for transitions. Cove work also eats more topcoat than people expect. Send us the linear feet and the cove height, and we will work the quantities with you before anything ships.
Before you set the cove height on a Stockton shop or wash bay, call the bench at (209) 208-4656 and walk the room through with the owner. Or send the linear feet, the wall type and a few photos and we will spec the cove and the floor as one stack. Here is what else ships to Stockton.