

Ask any installer who has been at this more than a couple of years what pulled him back to a finished job, and moisture is going to come up. Not mix ratio. Not the flake blend. Water coming up through a slab that looked bone dry the morning the crew rolled in.
Chris has watched it happen to good crews using good material. The prep was clean, the profile was right, the product was a system he stocks and installs himself. Six weeks later the customer sends a photo of a coating lifting off in sheets the size of a dinner plate, and everybody starts blaming the resin. The resin was fine. Nobody tested the slab.
Why moisture writes more callbacks than anything else in the trade
Concrete is a sponge with a schedule of its own. A slab is placed with a lot more water in it than the cement needs to hydrate, and the surplus has to go somewhere. On an interior floor it leaves through the top, because that is usually the only side open to the air. Below-grade and on-grade slabs get a second supply: whatever is moving through the soil underneath, which in a lot of the Central Valley means a water table that comes up in winter and drops in summer without asking permission.
Put a coating on top and you have closed the only exit. The water still moves. It gathers at the interface between the resin and the concrete, and it carries dissolved alkali with it. That alkali solution is what does the actual damage. It saponifies the bottom of the coating film, turning the adhesive bond into something with the consistency of soap, and then the whole system releases. That is osmotic blistering, and it does not care how much you paid per gallon.
The reason this generates so many comebacks is that it is invisible on install day and it takes weeks to show. The floor gets signed off, the check clears, and the failure arrives after everybody has moved on to the next job. Which means you are going back on your own dime to grind off a floor you already got paid for once.
The calcium chloride test, run the way the standard actually says
ASTM F1869 is the anhydrous calcium chloride test, and it is the one most installers reach for first because the kits are cheap and the math is simple. It measures moisture vapor emission rate, reported in pounds of water per thousand square feet per twenty four hours. It reads the top half inch or so of the slab, and that limitation matters, but we will get to that.
Run it right or do not run it at all. Here is the sequence that keeps the result honest.
Grind the test spot first. The standard calls for the surface to be prepped the same way it will be prepped for the coating, which means the slab has to be open. A troweled and sealed surface will hand you a low number that has nothing to do with what the slab will do once you actually grind it. This is the single most common way a test gets faked without anybody intending to fake it. Grind a spot roughly twenty inches square down to bare concrete, vacuum it clean, and leave it alone for twenty four hours before you set the dish.
Then condition the space. The building needs to be at service conditions, which the standard defines as seventy five degrees plus or minus ten and fifty percent relative humidity plus or minus ten, held for forty eight hours before the test starts and all the way through. If the HVAC is not running and is not going to be running, you are testing something other than the building the customer is going to occupy.
Weigh the dish and record it. Open it, set it on the ground spot, seal the dome over it with the tape provided, and write the placement time on the label. Every kit we sell comes with the log sheet because that sheet is what you hand over, alongside the number. Leave it sixty to seventy two hours. Not overnight because you are in a hurry. Sixty hours minimum.
Pull it, close the dish immediately, and weigh it on a scale that reads to a tenth of a gram. Kitchen scales do not read to a tenth of a gram. Then work the formula: the weight gain, the dish area, and the actual elapsed hours give you the emission rate. Test count is three tests for the first thousand square feet and one more for every additional thousand. One test in the middle of a five thousand square foot warehouse is not a test, it is a guess with a receipt. Our calcium chloride test kits come three to a box for exactly that reason.
Relative humidity probes and when they earn the extra time
ASTM F2170 is the in situ relative humidity test, and it works on a completely different idea. Instead of catching vapor coming off the top, you drill into the slab and let a sealed hole come to equilibrium with the concrete around it, then read the humidity inside that hole. On a slab drying from one side you drill to forty percent of the thickness. On a slab that can dry from both sides, twenty percent.
The reason it matters is depth. The calcium chloride test only sees the surface, so a slab that has had two dry weeks of good weather can read low on top while it is still loaded underneath. Drive a probe down to forty percent depth and you find out what is really in there. That is why RH testing has largely become the reference method for flooring manufacturers and why most warranty language now names it.
The catch is time. The holes need to sit sealed for twenty four hours before you read them, which means you either make a separate trip or you build the wait into the schedule. On a big commercial floor with a real warranty behind it, that is time well spent and you should be charging for it. On a residential garage where you are grinding tomorrow, the chloride test plus your own eyes will usually tell you enough.
Run both when the money justifies it. They measure different things and disagreeing results are informative rather than confusing. A low surface number with a high probe reading means the top has dried and the body has not, which tells you the slab is going to keep feeding moisture upward for months.
Reading the number without kidding yourself
Most standard epoxy primers are written for three pounds per thousand square feet per twenty four hours or less, and eighty percent internal relative humidity or less. Some manufacturers publish higher tolerances, some lower, and the number that governs your job is the one on the data sheet of the product you are actually putting down. Not the number you remember from another brand.
Above the limit, you have three honest paths. Wait, which almost nobody can do and which does nothing at all for a slab with an active source underneath. Install a moisture mitigation system built for the reading you got. Or walk away from the job. Coating over a failing number and hoping is not a fourth option, it is a deferred callback with your name on it.
One more thing worth saying out loud: a passing test is a snapshot of a moment, not a warranty. If you test in September, the customer stalls, and you install in February after the rains have brought the water table up under a slab with no vapor retarder beneath it, your September number is a historical document. Retest.
The lies a slab will tell you
The most common false pass in this trade is the conditioned slab. A general contractor runs temporary heat or gets the HVAC commissioned, the building sits dry and warm for two days, the top inch of the slab gives up its surface moisture, and your chloride dish reads two and a half pounds. Beautiful. Except the slab is eight inches thick and you measured half an inch of it. Two weeks later the mechanical is balanced, the humidity comes up, and that slab starts feeding again.
A residential garage lies in the opposite direction and in more interesting ways. It is unconditioned, so there is no forty eight hour setup that means anything unless you rent equipment and actually condition it. It usually has a slab poured in the eighties or earlier with a vapor retarder that is either torn, undersized, or absent entirely. And it has a driveway apron that dumps rainwater right against the edge. Test that slab in August and you get one answer. Test it in January and you get another one entirely, on the same floor, with the same kit.
Then there are the local tells that no dish will report. Efflorescence, the white crusty bloom at the perimeter or along a crack, means water has been moving through and leaving salts behind. Dark patches that come and go with the weather. A cold spot underfoot. Old adhesive residue that never fully cured. Any of those and you should be testing more spots, not fewer, and you should be testing near the tell rather than out in the clean middle of the bay where the number will look best.
And test where the trouble is. Perimeter, cold joints, near plumbing penetrations, anywhere a slab was poured in two pieces on two different days. Testing the geometric center of a room because it is convenient gives you the friendliest possible number from the least representative spot.
How the reading picks the system
This is where the testing stops being paperwork and starts being a build decision. The number in your hand determines the first coat, and the first coat determines everything stacked on top of it.
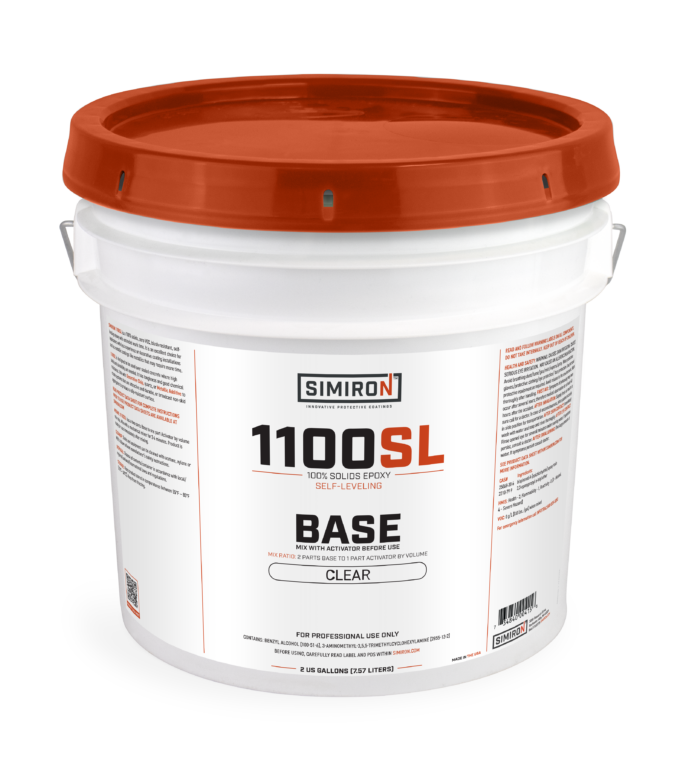
Under the limits and stable, a standard primer works and you build normally. Elevated, or unknown because you cannot get conditions to hold, and you are into a hundred percent solids epoxy moisture vapor barrier rated to the reading you took. Those primers are engineered to carry vapor pressure at rates far past what a standard primer tolerates, and every one we stock has been poured on real slabs before it went on the shelf. The mil thickness is not a suggestion, either. An MVB applied thin is a regular primer with a longer name.
Match the topcoat to the primer while you are at it. Putting a fast polyaspartic over a mitigation primer that has not reached its recoat window is its own separate failure, and it looks enough like a moisture failure that people misdiagnose it constantly. Read both data sheets and pay attention to where the windows overlap.
Document all of it. Test results, dates, conditions, product batch numbers. When a floor goes sideways two years out and somebody starts pointing fingers, the installer with a folder walks away clean and the installer with a memory does not. We teach this whole sequence hands on in the training academy, because reading a slab correctly is the skill that separates a crew that gets referred from a crew that gets calls.
Questions we get at the counter about slab moisture
Q. Can I just use a pin type moisture meter instead of a test kit? A meter is a screening tool and it is genuinely useful for that. Walk a slab, find the wet corners, decide where to place your real tests. What it cannot do is give you a number any manufacturer will accept against a warranty claim, because it reads electrical resistance in the top fraction of an inch and correlates loosely at best. Use the meter to aim, use the kit to decide.
Q. How old does a slab have to be before I can coat it? The old rule of thumb was twenty eight days, and it is not reliable. A twenty eight day old slab poured at a high water to cement ratio in cool weather can still be far over the limit, and a two year old slab sitting on a bad vapor retarder can be over it forever. Age tells you the concrete has gained strength. It tells you nothing about the moisture, which is why the test exists.
Q. The slab tested fine but the customer pushed the job back three months. Retest? Yes, and it is cheap insurance. Seasons move the water table, especially on an on grade slab without a good retarder under it. A fall test does not predict a winter install. Pull a fresh set before you grind.
Q. Does a moisture vapor barrier fix a slab with standing water problems? No, and this is worth being blunt about. An MVB handles vapor pressure. It does not handle hydrostatic pressure, liquid water pushing up through a crack or a joint. If you can see water, if a crack weeps after rain, you have a drainage or a plumbing problem and the coating is not the answer. Fix the source or decline the job.
Q. Do I need a probe test if my chloride numbers came back low? Depends what is riding on it. On a residential floor with a low, consistent set of chloride results and no visual tells, most installers move forward and are fine. On a commercial floor with a warranty, a manufacturer who names F2170 in their documents, or any slab where the surface reading feels too good for what you are seeing, drill the probes. The extra day is a lot cheaper than a redo.
Not sure how to read what your kit came back with, or which primer the number is pointing you toward? Bring the numbers to us. Chris takes these calls himself at (209) 208-4656, or send the readings and a couple of slab photos through the contact page and we will talk through what the slab is telling you before you buy a single pail.